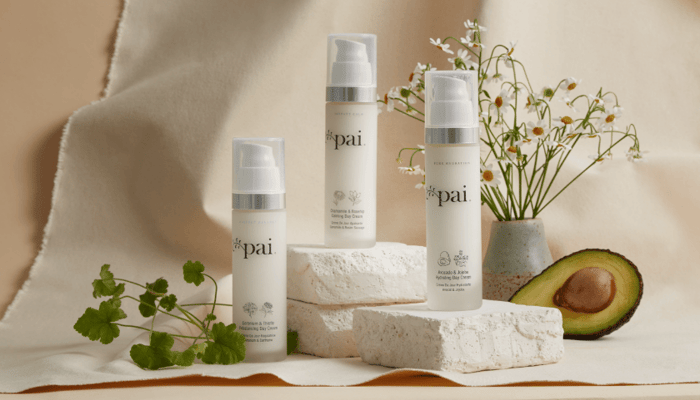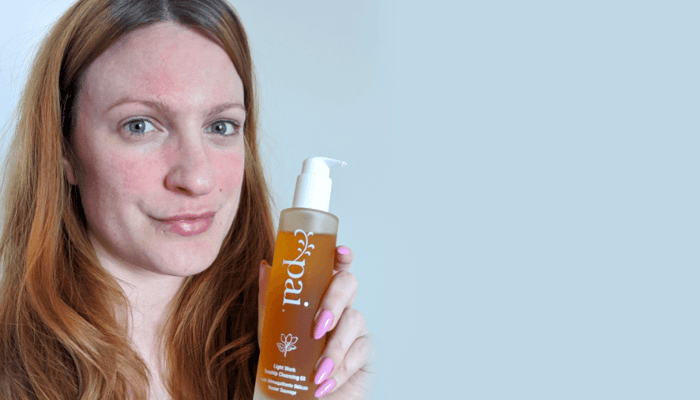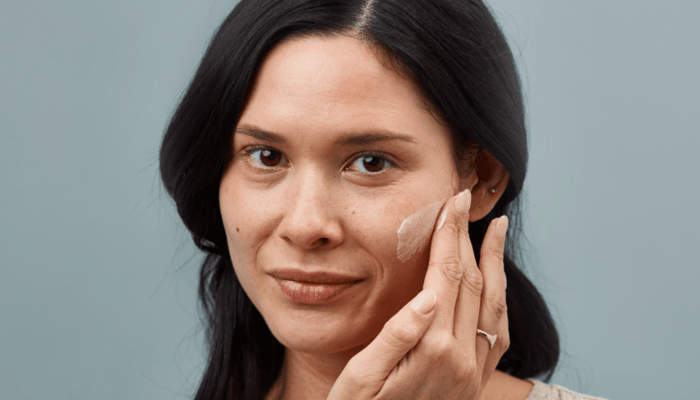

Kate, our in-house facialist, knows a thing or two about getting skin to glow. She's spent years perfecting facial techniques for sensitive skin, and now she's sharing exactly how to recreate her signature Pai facial at home. No extraction tools, no harsh peels, no stress. Just five simple steps to happier skin.
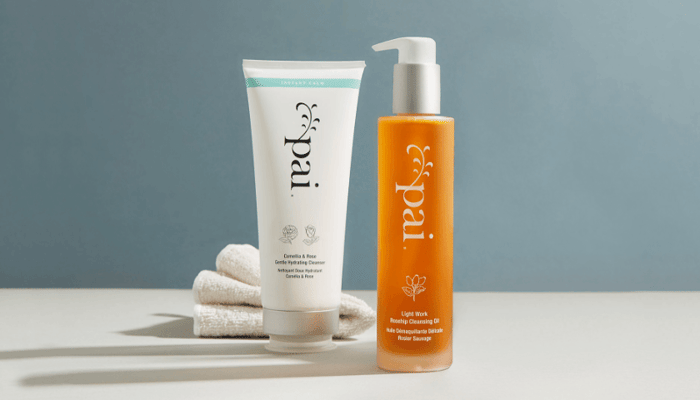
Step 1: The Double Cleanse That Started It All
Every great facial starts with properly clean skin. Not stripped skin. Not tight skin. Actually clean skin. That means double cleansing without a single surfactant touching your face.
Start with Light Work Rosehip Cleansing Oil to dissolve makeup and SPF. This is the same CO2-extracted rosehip that's in our bestselling face oil, working its magic even in a cleansing step. Massage it into dry skin, add water to emulsify (it turns milky white), then rinse clean.
Follow with Middlemist Seven Cream Cleanser. Where Light Work removes, Middlemist Seven nourishes. The camellia oil conditions while it cleanses, and the included muslin cloth provides gentle exfoliation without needing a separate scrub. For oilier skin, spend extra time with circular motions on the T-zone to draw out congestion.
Why both steps matter: research shows that surfactant-free cleansing preserves your barrier while still removing everything that needs to go. It's the difference between skin that feels soft after cleansing and skin that feels like it needs immediate rescue.
Step 2: Polish Without Punishing
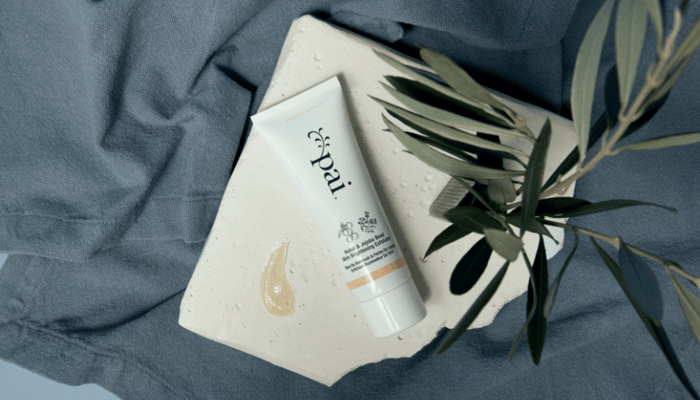
Now for the step that makes everything else work better: exfoliation. Apply Kukui & Jojoba Bead Skin Brightening Exfoliator to damp skin. The jojoba beads are perfectly spherical (no jagged edges to create micro-tears), and the kukui oil melts into skin as you massage.
Here's Kate's technique: work in upward circular motions for 30 seconds, then dampen your hands and continue massaging. The exfoliator transforms into a milky emulsion that lifts away dead cells without harsh scrubbing. Focus on areas where skin looks dull or feels rough, but go gently around the cheeks if you're prone to redness.
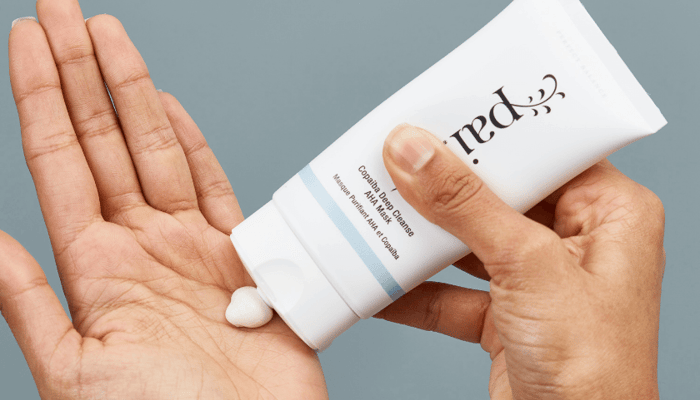
For oily or congested skin, swap in Copaiba Deep Cleanse AHA Mask instead. The fruit acids dissolve the bonds between dead skin cells rather than physically buffing them away. Same result, different method, zero irritation.
Step 3: The Mask That Does the Heavy Lifting
This is where the facial gets interesting. Your skin is perfectly prepped to absorb whatever you put on it, so choose wisely.
For instant radiance, reach for the Rosehip BioRegenerate Rapid Radiance Mask. This concentrated treatment delivers our signature CO2-extracted rosehip in a 10-minute intensive dose. The omegas and carotenoids get to work immediately, leaving skin visibly brighter by the time you rinse.
If congestion is your concern, the Copaiba Deep Cleanse AHA Mask does double duty: decongesting pores while calming inflammation. The copaiba resin soothes while the AHAs clarify. It's the facial equivalent of a reset button.
Kate's pro tip: grab cucumber slices for your eyes (yes, it's a cliché because it works), put on something relaxing, and actually leave the mask on for the full 10 minutes. No scrolling. No multitasking. Your skin knows when you're stressed.
Step 4: Lock in the Hydration
Post-mask skin is primed and ready. Start with a few spritzes of your BioAffinity Tonic to balance and prep. These aren't your grandmother's astringent toners. They're living waters that deliver actives while maintaining your skin's pH.
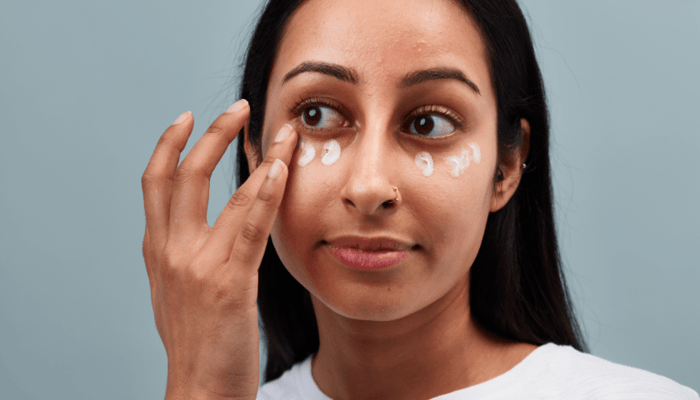
Next comes the eye area. Apply Feather Canyon Eye Cream with your ring finger (lightest touch) to the orbital bone. The echium seed oil is doing serious structural work here, stimulating fibrillin and collagen production where skin is thinnest. Pat gently in slow circles to boost circulation and reduce puffiness. Never drag or pull.

Step 5: The Facial Massage That Seals the Deal
This final step is what separates a good at-home routine from a proper facial. Choose your weapon: Rosehip BioRegenerate Oil for radiance and regeneration, or any of our treatment oils depending on your skin's current mood.
Warm 4-5 drops between your palms, then press into skin. Now for the massage: start at the center of your face and work outward with gentle sweeping motions. Move down to your neck and décolletage (always upward strokes here). The massage isn't just feel-good fluff. It stimulates lymphatic drainage, boosts circulation, and helps the oils penetrate deeper.
Kate spends a full three minutes on this step. It's meditative, it's effective, and it leaves skin looking professionally pampered. By the time you're done, your skin should feel nourished, calm, and decidedly more cooperative than when you started.
When DIY Isn't Enough
This routine delivers serious results, but sometimes you need Kate's actual hands on your face. We offer free 30-minute skin consultations where our experts can assess your skin and build you a completely personalised routine. Book yours at paiskincare.live, or explore why professional facials are worth the investment when you're ready to level up.
The beauty of this at-home facial? You can do it weekly without worrying about sensitivity or reactions. Every product is designed to work with reactive skin, not against it. No harsh actives, no aggressive techniques, just five steps to skin that looks like you've had a very good week.